Draco
Sanity check for Draco
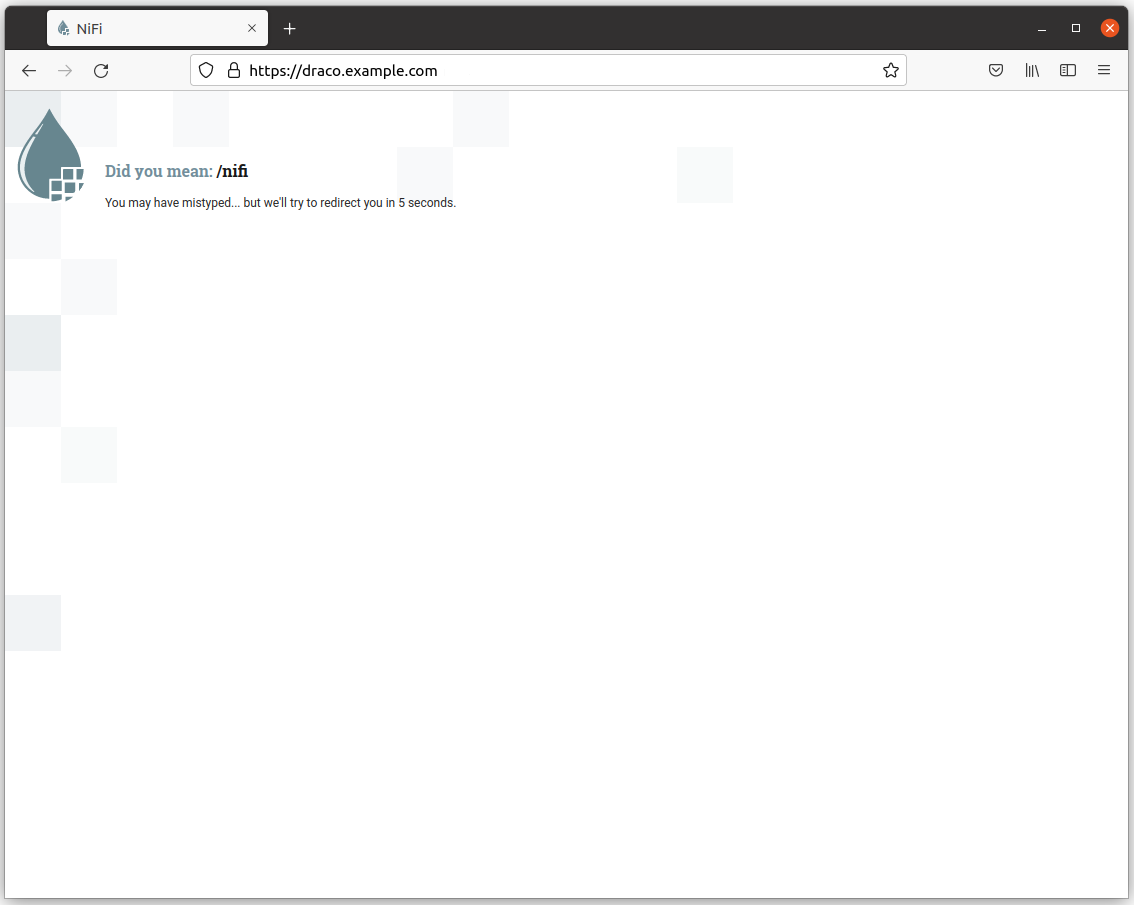
Open at https://draco.example.com to access the Draco GUI.
Login to Draco GUI
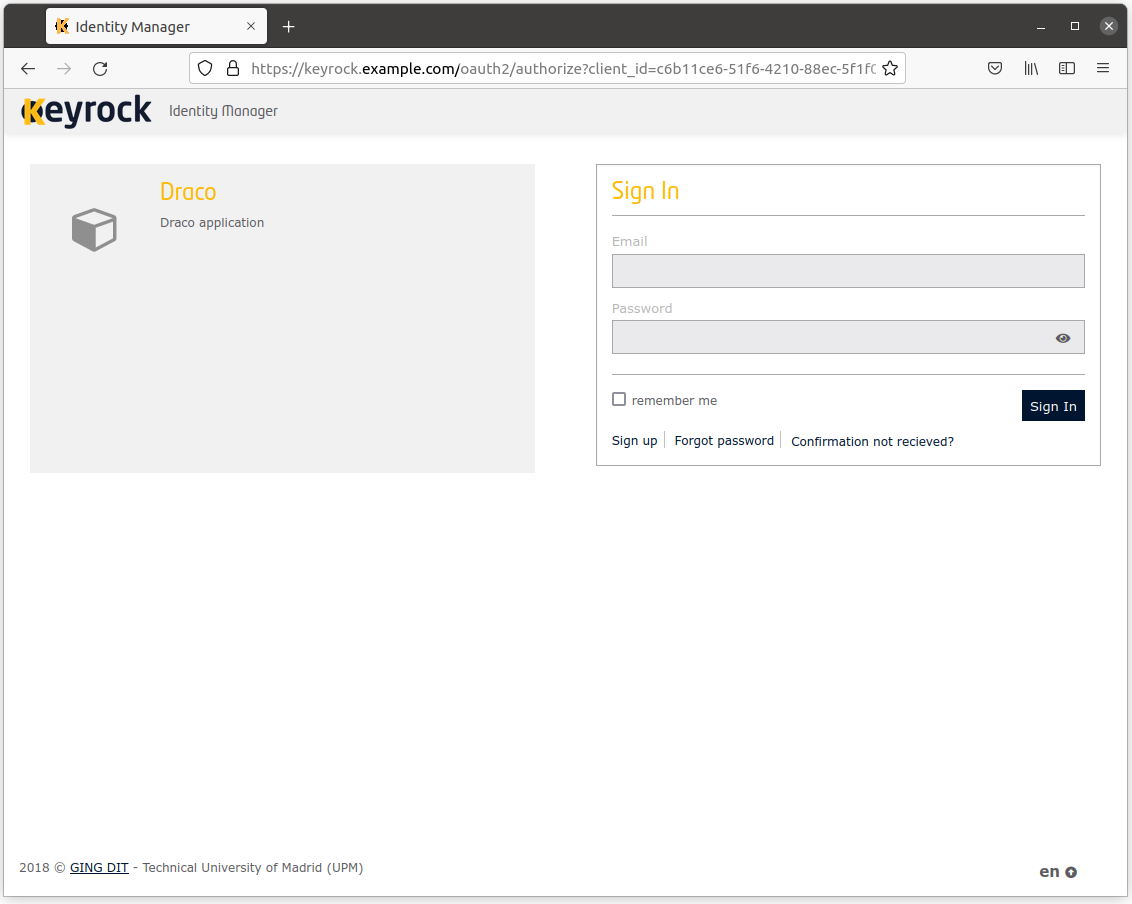
Open at https://draco.example.com/nifi to login the Draco GUI.
Then, you will be redirected to the Keyrock sign-in page.
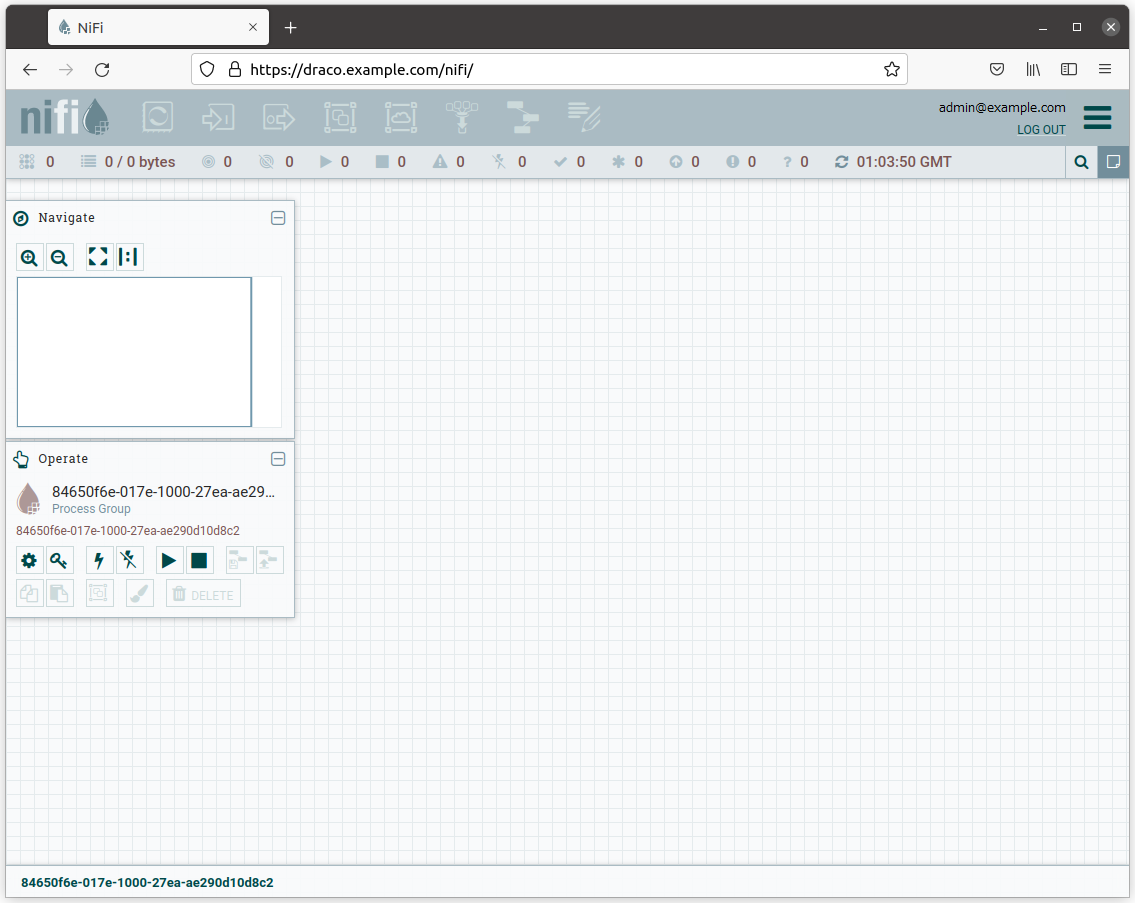
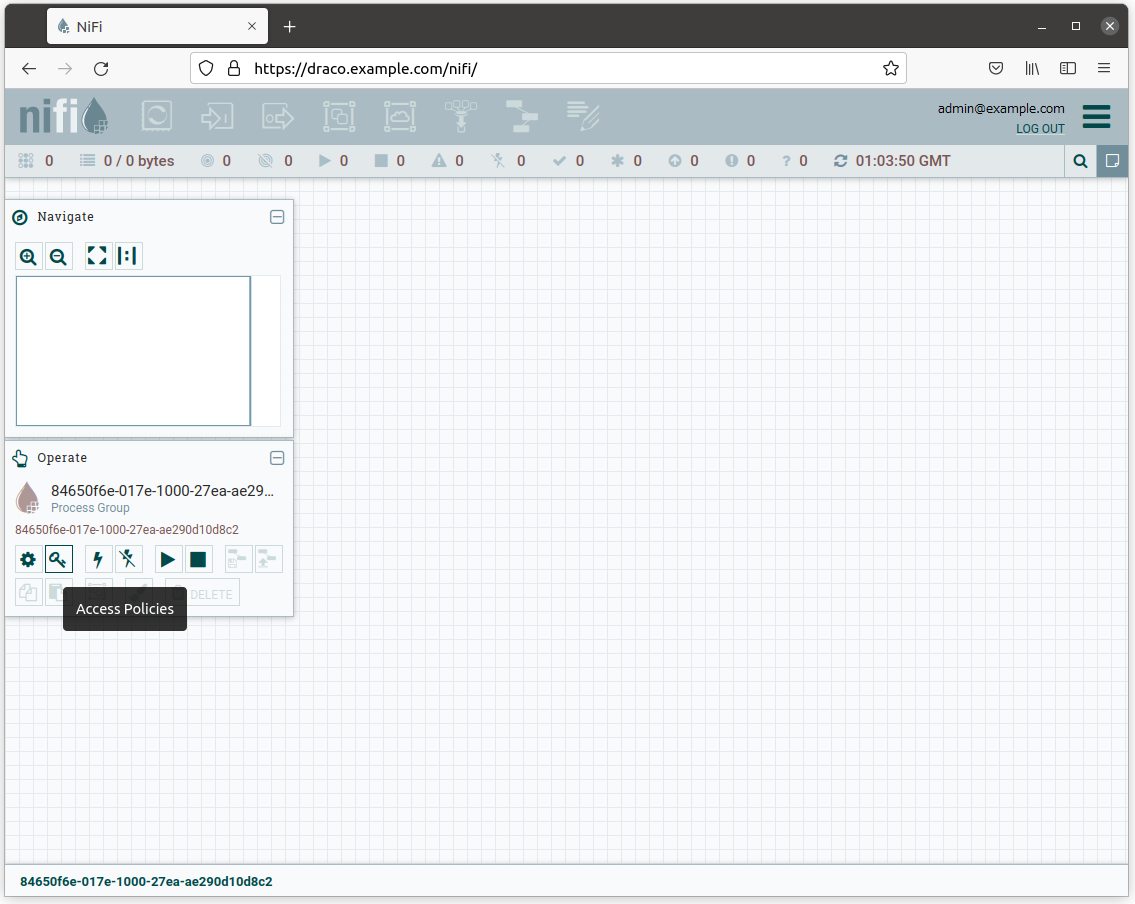
When you have logged in to the Draco GUI, you will see a page as shown:
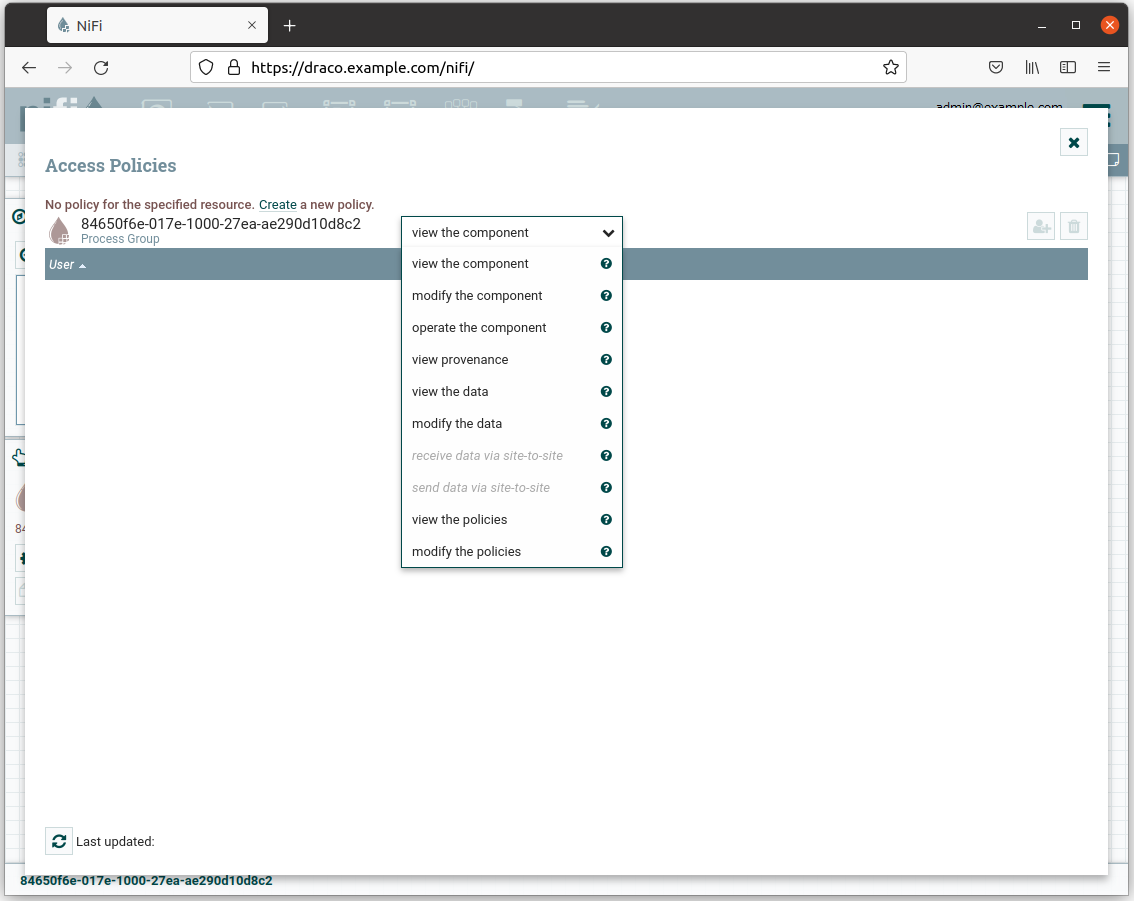
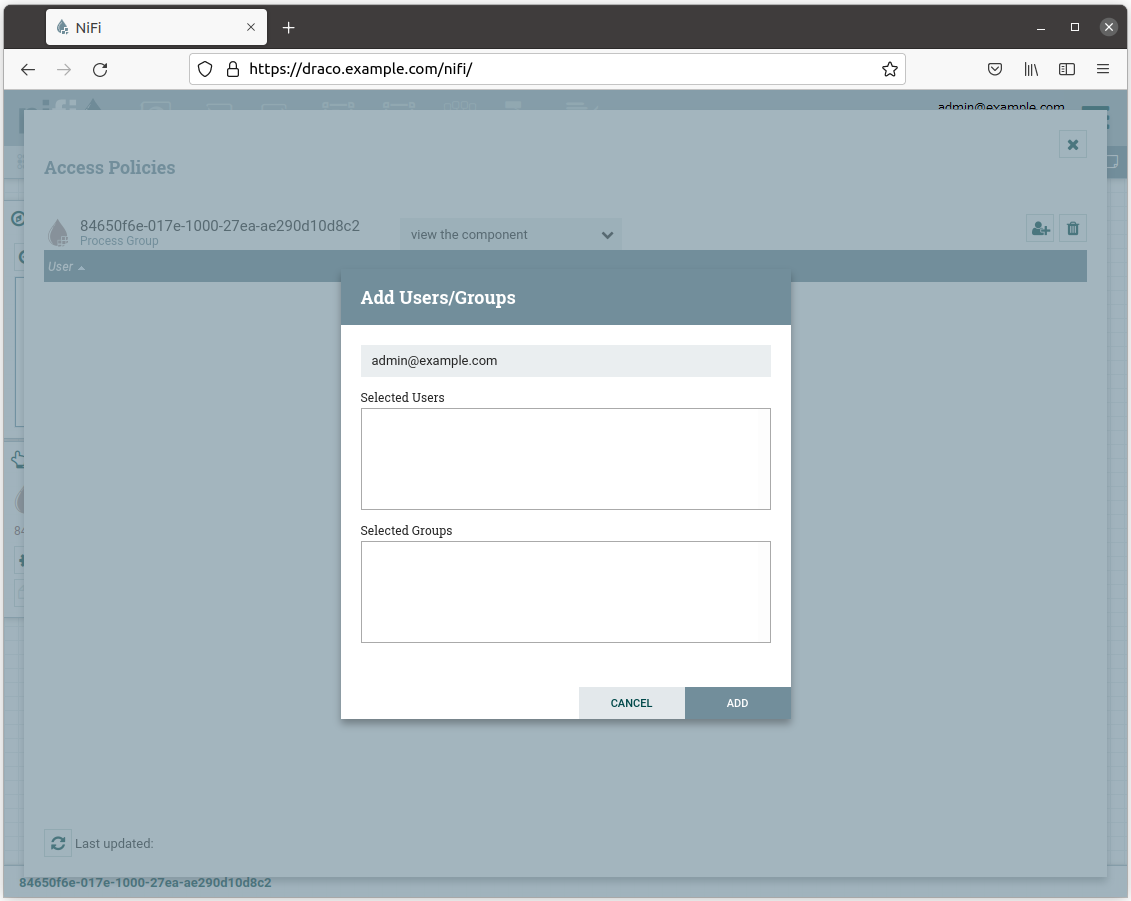
Add access policies
In order to be able to select items on the components toolbar, you should add some access policies.
Open Access Policies page by clicking the Access Policies button in the Operate window.
Create new policies in view the component, modify the component and operate the component.
Add your admin email as a user to the new policy.
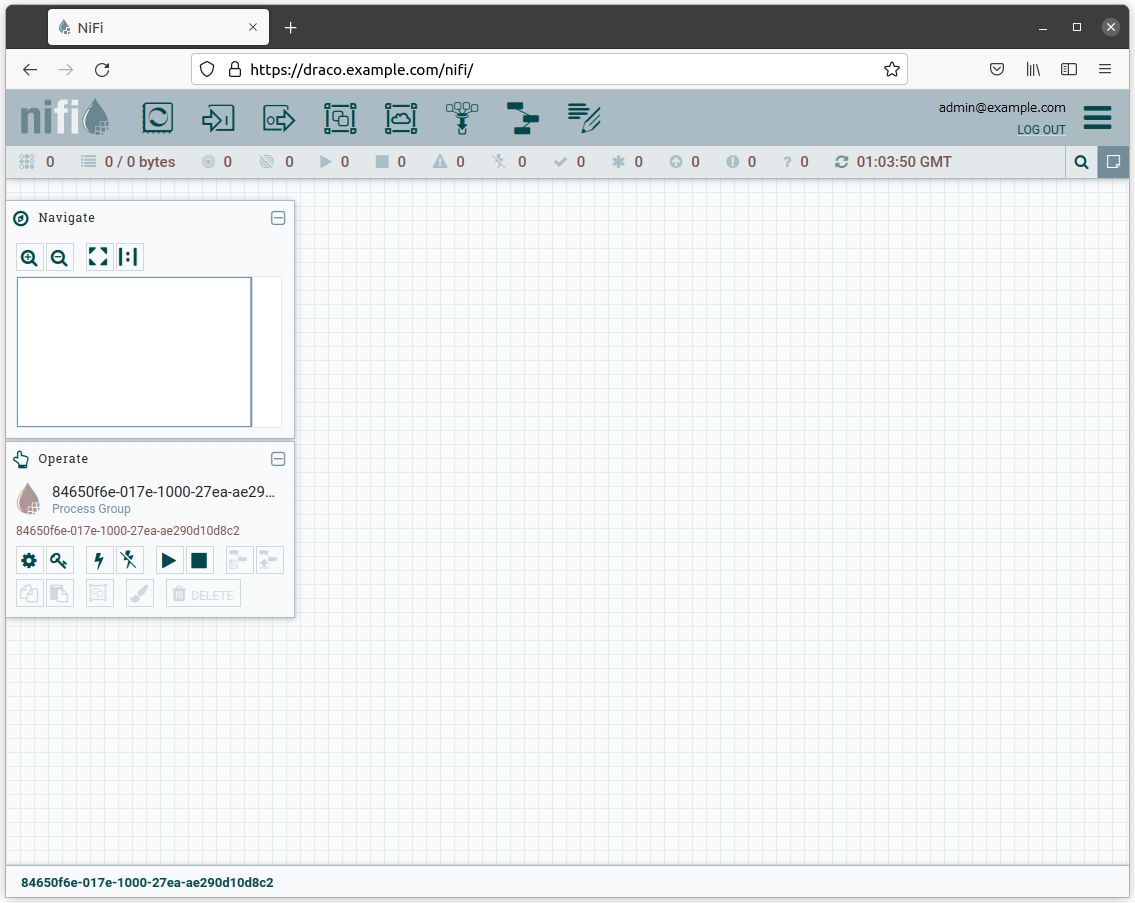
After adding the access policies, you will be able to select items on the components toolbar.
Persisting Context Data into MongoDB
Go to the Components toolbar which is placed in the upper section of the NiFi GUI, find the template icon and drag and drop
it inside the Draco user space. At this point, a popup should be displayed with a list of all the templates available.
Please select the template ORION-TO-MONGO.xml.
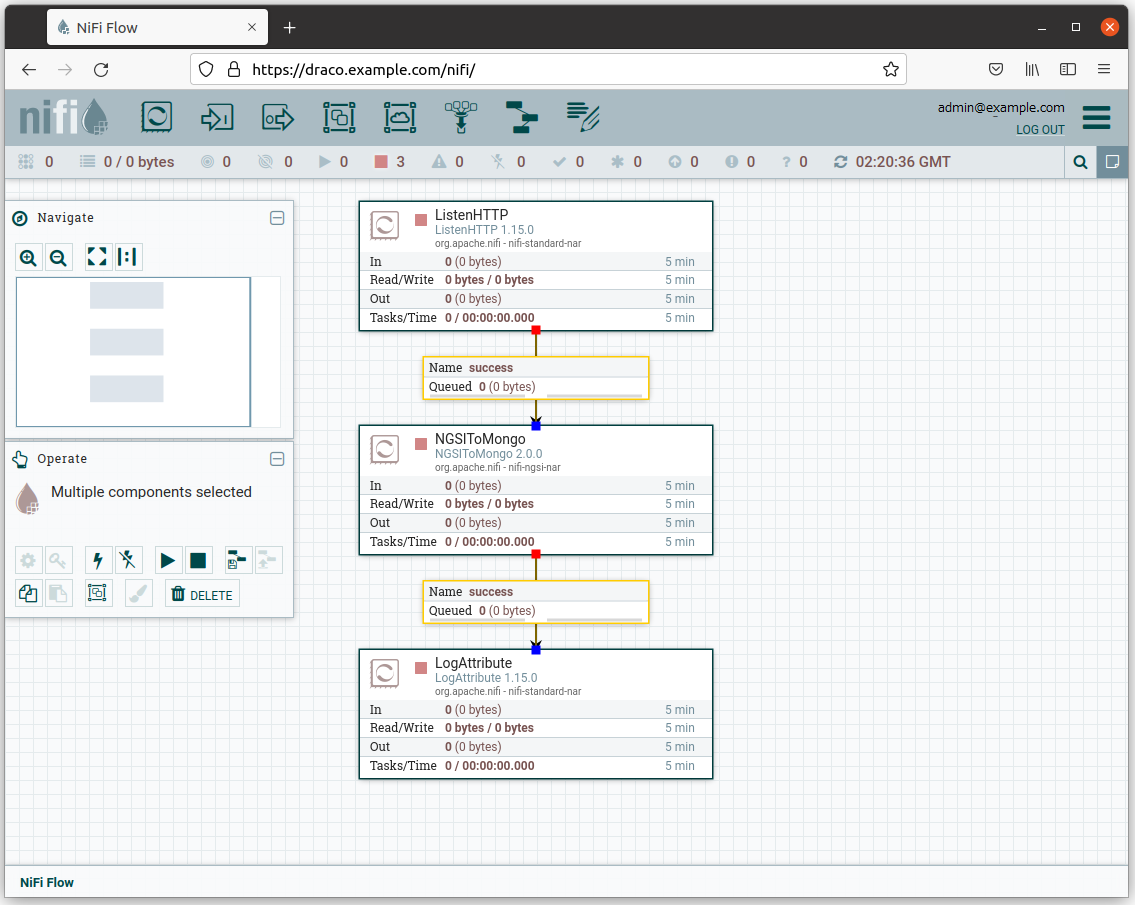
Select all the processors (press shift and click on every processor) and start them by clicking on the start button. Now, you can see that the status icon of each processor turned from red to green.

Subscribing to Context Changes
Create a subscription to notify Draco of changes in context and store it into MongoDB.
ngsi create \
  --host orion.example.com \
  --service openiot \
  --path / \
  subscription \
  --description "Notify Draco of all context changes" \
  --idPattern ".*" \
  --uri "http://draco:5050/notify"
Create context data
Generate context data by running the following script:
#!/bin/bash
set -eu
for i in {0..9}
do
  echo $i
  ngsi upsert \
    --host orion.example.com \
    --service openiot \
    --path / \
    entity \
    --keyValues \
    --data "{\"id\":\"device001\", \"type\":\"device\", \"temperature\":${RANDOM}}"
  sleep 1
done
Reading historical data from MongoDB
To read MongoDB data from the command line, you need to be in a MongoDB container.
Command:
docker compose exec mongo bashResult:
root@15101e538fde:/# Then, run the MongoDB shell.
Command:
mongo Result:
MongoDB shell version v4.4.8
connecting to: mongodb://127.0.0.1:27017/?compressors=disabled&gssapiServiceName=mongodb
Implicit session: session { "id" : UUID("0a85a937-ea0d-4532-b43e-eca3105f7003") }
MongoDB server version: 4.4.8
Welcome to the MongoDB shell.
For interactive help, type "help".
For more comprehensive documentation, see
    https://docs.mongodb.com/
Questions? Try the MongoDB Developer Community Forums
    https://community.mongodb.com
To show the list of available databases, run the statement as shown:
Query:
show dbsResult:
admin          0.000GB
config         0.000GB
local          0.000GB
orion          0.000GB
orion-openiot  0.000GB
orionld        0.000GB
sth_openiot    0.000GB
Switch to a database you want to access:
Query:
use sth_openiotResult:
switched to db sth_openiotList collections in the databases:
Query:
show collectionsResult:
sth_/_device001_device
sth_/_device001_device.aggr
Read historical data by running the following query:
Query:
db["sth_/_device001_device"].find().limit(10)Result:
{ "_id" : ObjectId("6183c90a39b98320cb0bfffd"), "attrName" : "temperature", "attrType" : "Number", "attrValue" : 16193, "recvTime" : ISODate("2021-11-04T11:50:33.734Z") }
{ "_id" : ObjectId("6183c90a39b98320cb0bfffe"), "attrName" : "temperature", "attrType" : "Number", "attrValue" : 28959, "recvTime" : ISODate("2021-11-04T11:50:34.721Z") }
{ "_id" : ObjectId("6183c90b39b98320cb0bffff"), "attrName" : "temperature", "attrType" : "Number", "attrValue" : 15080, "recvTime" : ISODate("2021-11-04T11:50:35.758Z") }
{ "_id" : ObjectId("6183c90c39b98320cb0c0000"), "attrName" : "temperature", "attrType" : "Number", "attrValue" : 5697, "recvTime" : ISODate("2021-11-04T11:50:36.795Z") }
{ "_id" : ObjectId("6183c90d39b98320cb0c0001"), "attrName" : "temperature", "attrType" : "Number", "attrValue" : 7126, "recvTime" : ISODate("2021-11-04T11:50:37.832Z") }
{ "_id" : ObjectId("6183c90e39b98320cb0c0002"), "attrName" : "temperature", "attrType" : "Number", "attrValue" : 5396, "recvTime" : ISODate("2021-11-04T11:50:38.869Z") }
{ "_id" : ObjectId("6183c90f39b98320cb0c0003"), "attrName" : "temperature", "attrType" : "Number", "attrValue" : 32231, "recvTime" : ISODate("2021-11-04T11:50:39.907Z") }
{ "_id" : ObjectId("6183c91039b98320cb0c0004"), "attrName" : "temperature", "attrType" : "Number", "attrValue" : 30974, "recvTime" : ISODate("2021-11-04T11:50:40.946Z") }
{ "_id" : ObjectId("6183c91139b98320cb0c0005"), "attrName" : "temperature", "attrType" : "Number", "attrValue" : 31005, "recvTime" : ISODate("2021-11-04T11:50:41.984Z") }
{ "_id" : ObjectId("6183c91339b98320cb0c0006"), "attrName" : "temperature", "attrType" : "Number", "attrValue" : 3404, "recvTime" : ISODate("2021-11-04T11:50:43.020Z") }
Persisting Context Data into MySQL
Go to the Components toolbar which is placed in the upper section of the NiFi GUI, find the template icon and drag and drop
it inside the Draco user space. At this point, a popup should be displayed with a list of all the templates available.
Please select the template ORION-TO-MYSQL.xml.

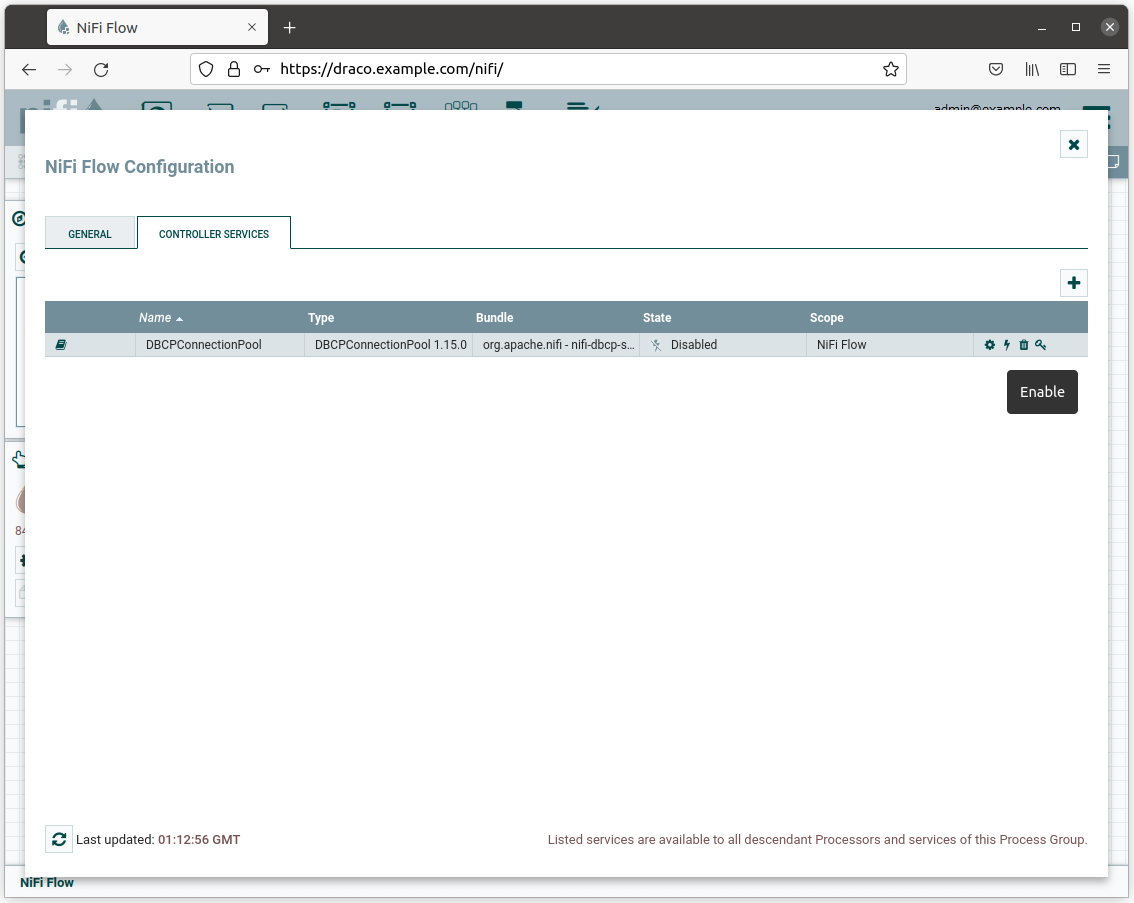
Do right click on any part of the Draco GUI user space, and then click on configure.

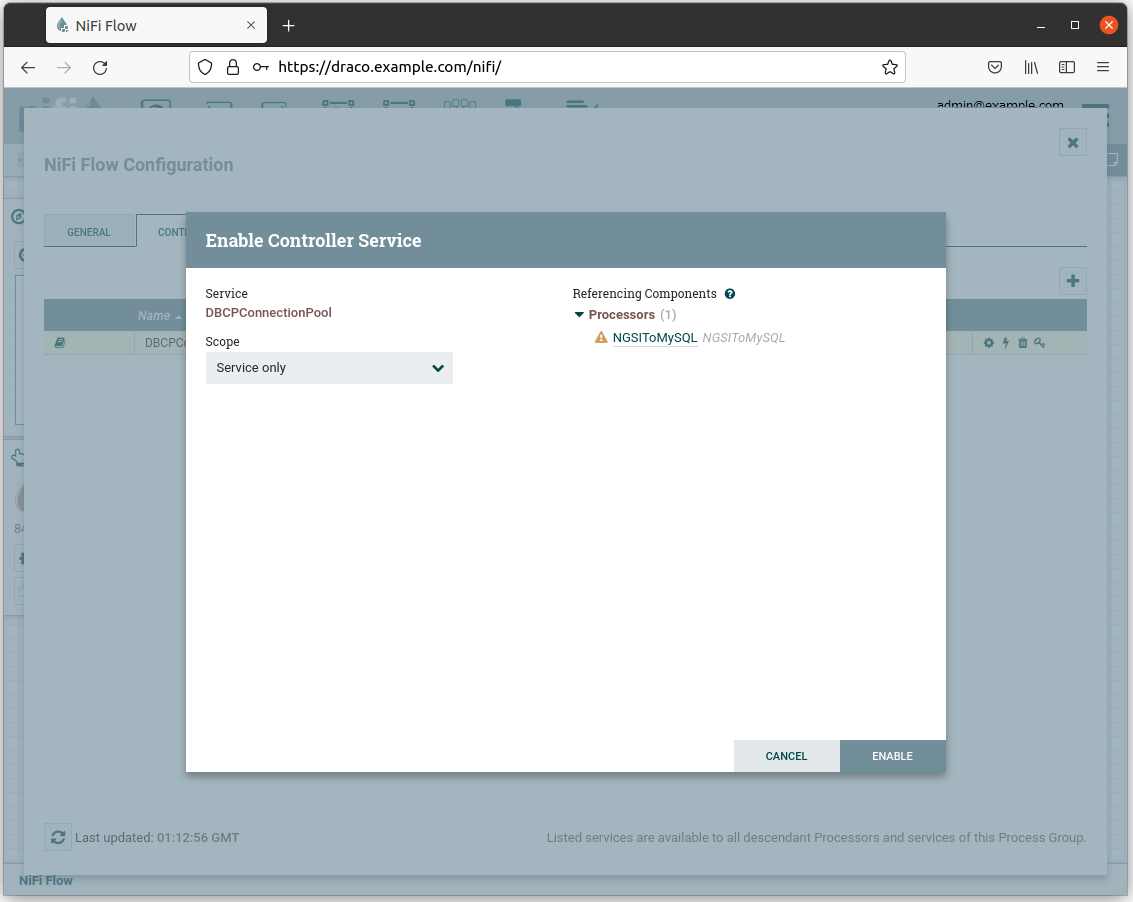
Enable the processor by clicking on the thunder icon.
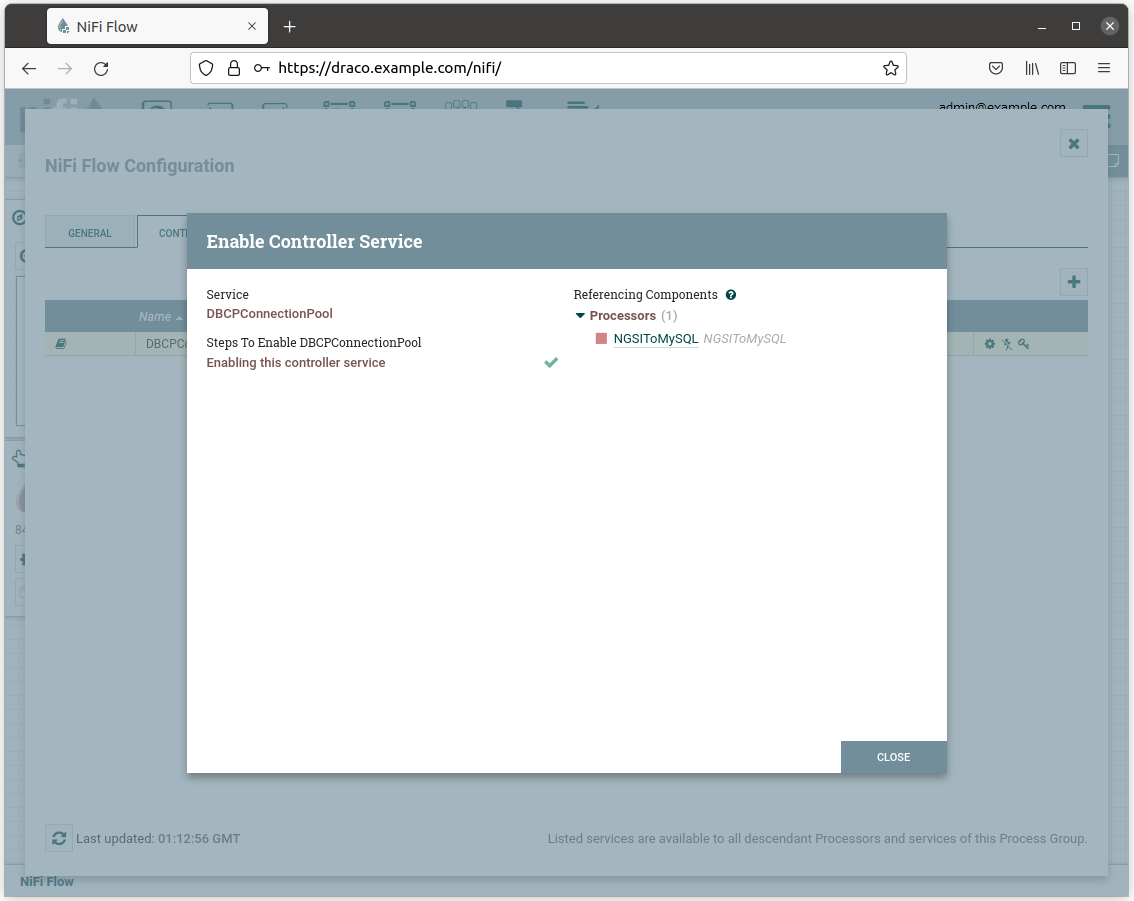
And then click on the ENABLE button.
Then close the controller configuration page.
The status icon of the NGSToMySQL processor turns red.
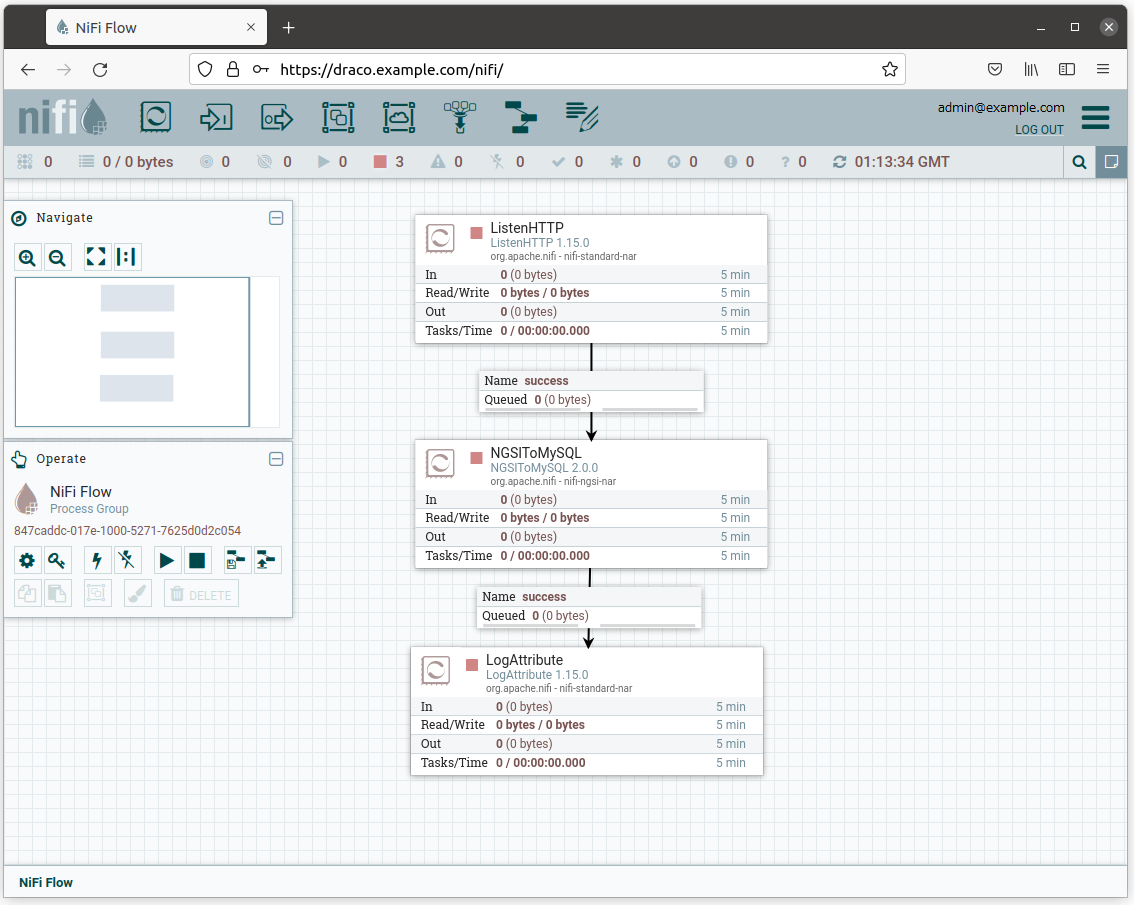
Select all the processors (press shift and click on every processor) and start them by clicking on the start button. Now, you can see that the status icon of each processor turned from red to green.

Subscribing to Context Changes
Create a subscription to notify Draco of changes in context and store it into MySQL.
ngsi create \
  --host orion.example.com \
  --service openiot \
  --path / \
  subscription \
  --description "Notify Draco of all context changes" \
  --idPattern ".*" \
  --uri "http://draco:5050/notify"
Create context data
Generate context data by running the following script:
#!/bin/bash
set -eu
for i in {0..9}
do
  echo $i
  ngsi upsert \
    --host orion.example.com \
    --service openiot \
    --path / \
    entity \
    --keyValues \
    --data "{\"id\":\"device001\", \"type\":\"device\", \"temperature\":${RANDOM}}"
  sleep 1
done
Reading historical data from MySQL
To read MySQL data from the command line, you need to be in a MySQL container.
Command:
docker compose exec mysql bashResult:
root@898cef135030:/#Then, run the MySQL shell.
Command:
root@898cef135030:/# mysql -uroot -pResult:
Enter password:
Welcome to the MySQL monitor.  Commands end with ; or \g.
Your MySQL connection id is 21
Server version: 5.7.35 MySQL Community Server (GPL)

Copyright (c) 2000, 2021, Oracle and/or its affiliates.

Oracle is a registered trademark of Oracle Corporation and/or its
affiliates. Other names may be trademarks of their respective
owners.

Type 'help;' or '\h' for help. Type '\c' to clear the current input statement.
To show the list of available databases, run the statement as shown:
Query:
show databases;Result:
+--------------------+
| Database           |
+--------------------+
| information_schema |
| idm                |
| mysql              |
| openiot            |
| performance_schema |
| sys                |
+--------------------+
6 rows in set (0.00 sec)
Switch to a database you want to access:
Query:
use openiot;Result:
Reading table information for completion of table and column names
You can turn off this feature to get a quicker startup with -A

Database changed
List tables in the databases:
Query:
show tables;Result:
+-------------------+
| Tables_in_openiot |
+-------------------+
| x002f             |
+-------------------+
1 row in set (0.01 sec)
Read historical data by running the following query:
Query:
SELECT * FROM openiot.x002f;Result:
+---------------+---------------------+-------------------+-----------+------------+-------------+----------+-----------+--------+
| recvTimeTs    | recvTime            | fiwareServicePath | entityId  | entityType | attrName    | attrType | attrValue | attrMd |
+---------------+---------------------+-------------------+-----------+------------+-------------+----------+-----------+--------+
| 1643187726446 | 01/26/2022 09:02:06 |                   | device001 | device     | temperature | Number   | 30290     | []     |
| 1643187727478 | 01/26/2022 09:02:07 |                   | device001 | device     | temperature | Number   | 8769      | []     |
| 1643187728510 | 01/26/2022 09:02:08 |                   | device001 | device     | temperature | Number   | 4184      | []     |
| 1643187729539 | 01/26/2022 09:02:09 |                   | device001 | device     | temperature | Number   | 9946      | []     |
| 1643187730571 | 01/26/2022 09:02:10 |                   | device001 | device     | temperature | Number   | 17908     | []     |
| 1643187731599 | 01/26/2022 09:02:11 |                   | device001 | device     | temperature | Number   | 19044     | []     |
| 1643187732627 | 01/26/2022 09:02:12 |                   | device001 | device     | temperature | Number   | 435       | []     |
| 1643187733655 | 01/26/2022 09:02:13 |                   | device001 | device     | temperature | Number   | 10452     | []     |
| 1643187734683 | 01/26/2022 09:02:14 |                   | device001 | device     | temperature | Number   | 4405      | []     |
| 1643187735711 | 01/26/2022 09:02:15 |                   | device001 | device     | temperature | Number   | 24210     | []     |
+---------------+---------------------+-------------------+-----------+------------+-------------+----------+-----------+--------+
10 rows in set (0.00 sec)
Persisting Context Data into PostgreSQL
Go to the Components toolbar which is placed in the upper section of the NiFi GUI, find the template icon and drag and drop
it inside the Draco user space. At this point, a popup should be displayed with a list of all the templates available.
Please select the template ORION-TO-POSTGRESQL.xml.

Do right click on any part of the Draco GUI user space, and then click on configure.
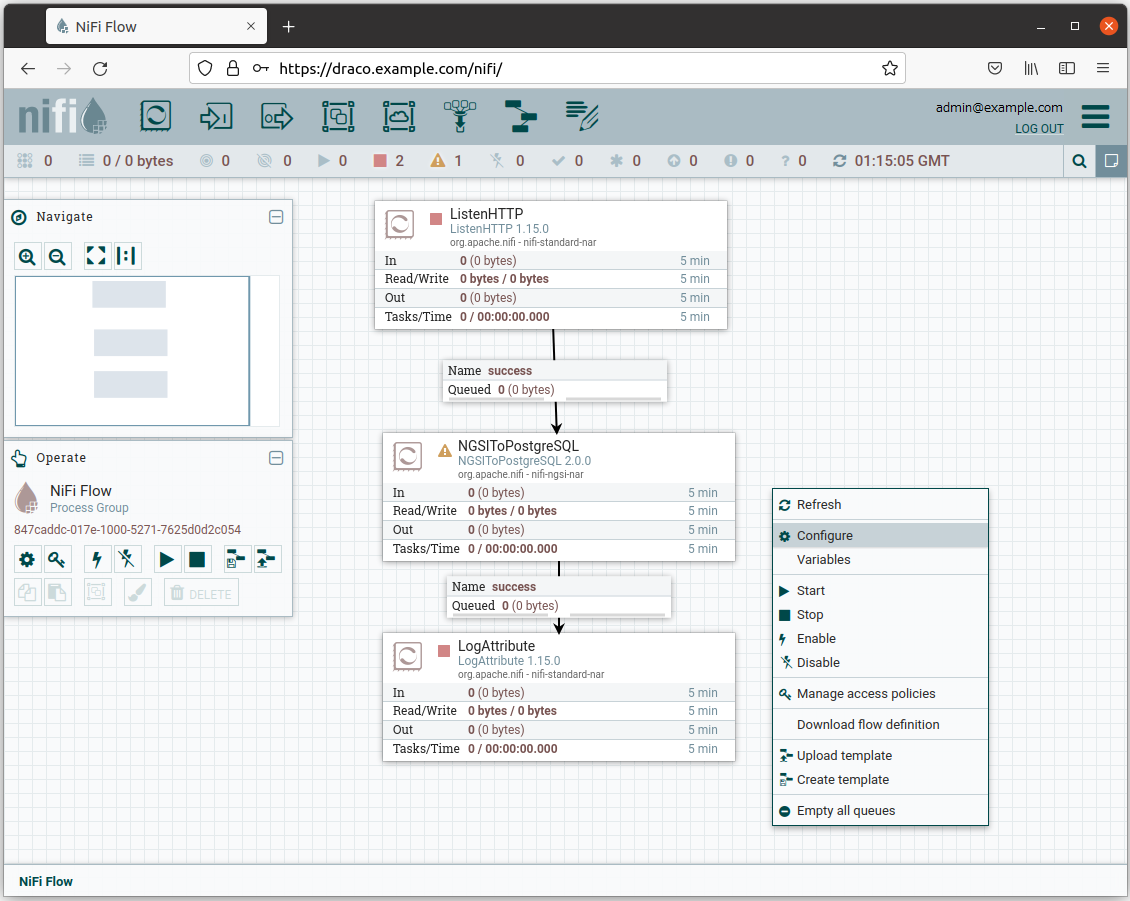
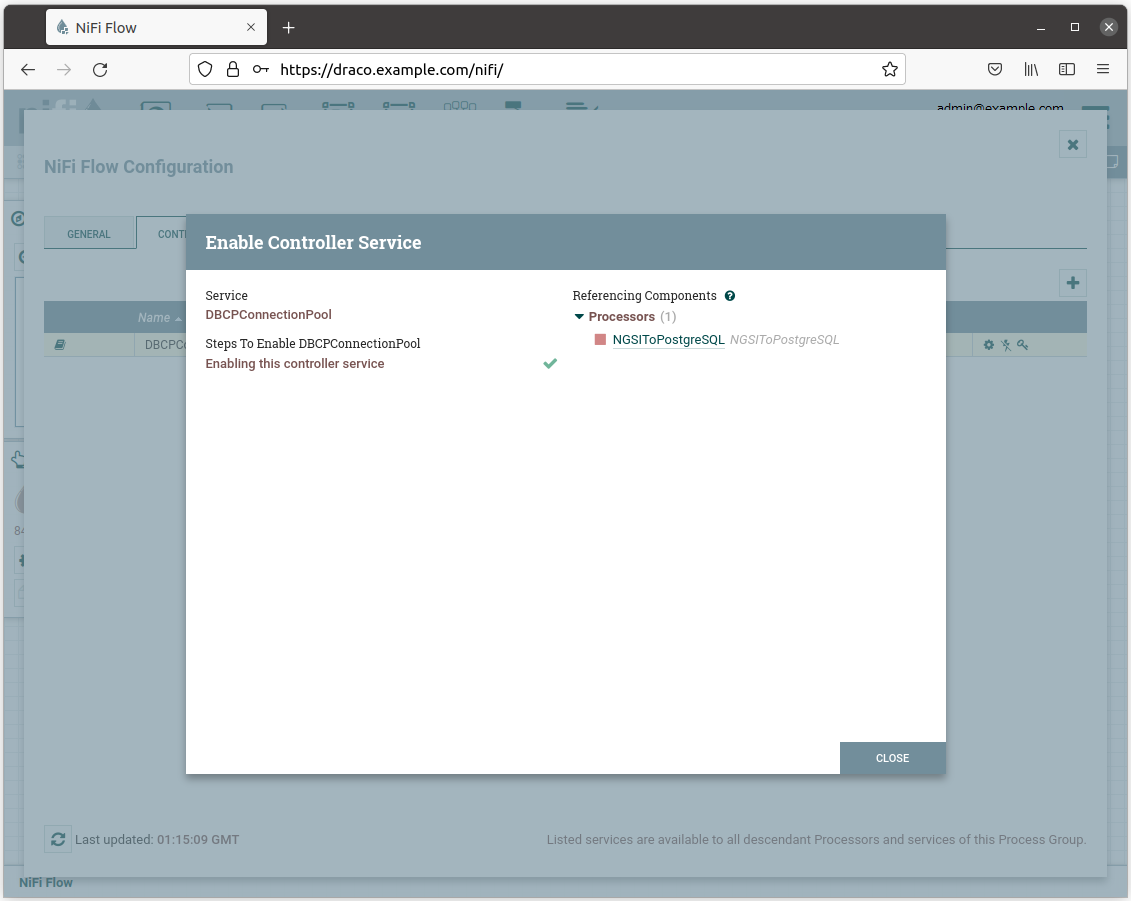
Enable the processor by clicking on the thunder icon.
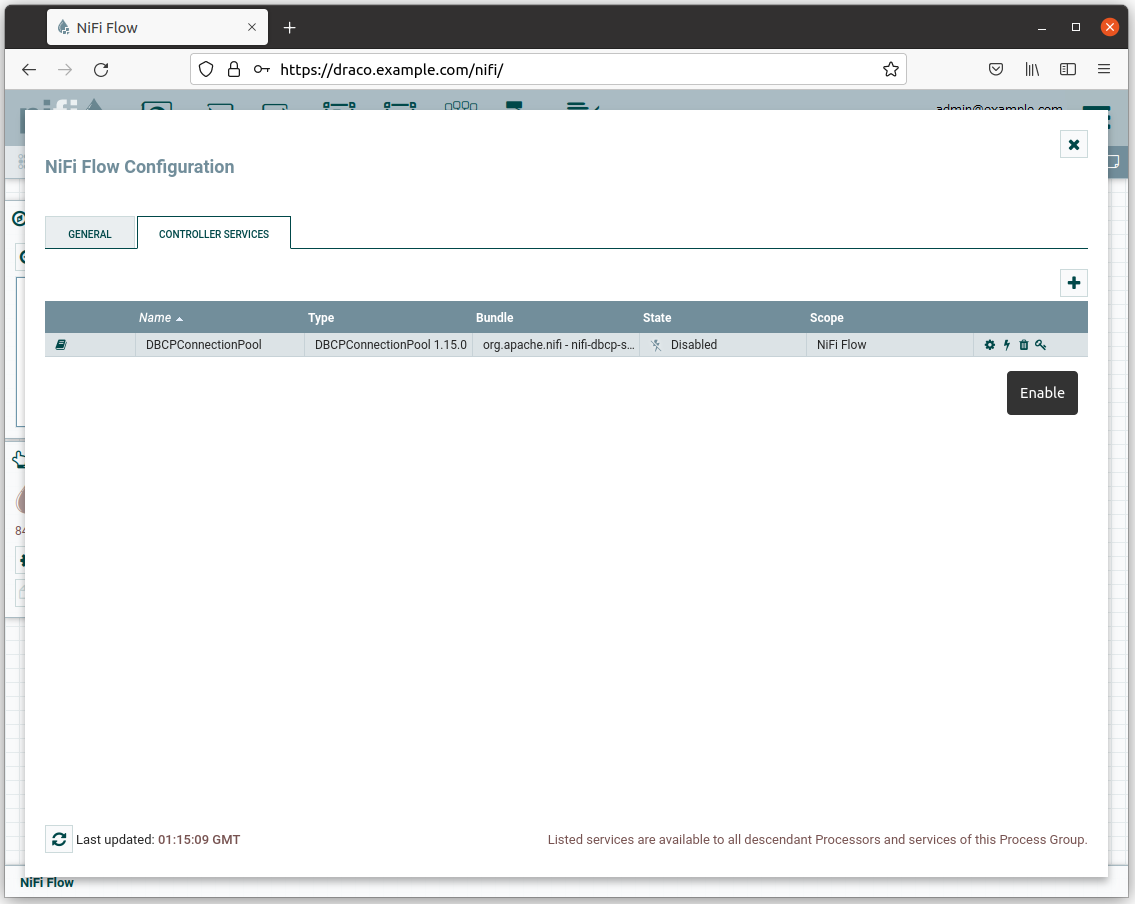
And then click on the ENABLE button.

Then close the controller configuration page.
The status icon of the NGSToMySQL processor turns red.

Select all the processors (press shift and click on every processor) and start them by clicking on the start button. Now, you can see that the status icon of each processor turned from red to green.

Subscribing to Context Changes
Create a subscription to notify Draco of changes in context and store it into PostgreSQL.
ngsi create \
  --host orion.example.com \
  --service openiot \
  --path / \
  subscription \
  --description "Notify Draco of all context changes" \
  --idPattern ".*" \
  --uri "http://draco:5050/notify"
Create context data
Generate context data by running the following script:
#!/bin/bash
set -eu
for i in {0..9}
do
  echo $i
  ngsi upsert \
    --host orion.example.com \
    --service openiot \
    --path / \
    entity \
    --keyValues \
    --data "{\"id\":\"device001\", \"type\":\"device\", \"temperature\":${RANDOM}}"
  sleep 1
done
Reading historical data from PostgreSQL
To read PostgreSQL data from the command line, you need to be in a PostgreSQL container.
Command:
docker compose exec postgres bashResult:
root@72b468efeb11:/#Then, run the psql shell.
Command:
psql -U postgresResult:
psql (11.13 (Debian 11.13-1.pgdg90+1))
Type "help" for help.
To show the list of available databases, run the statement as shown:
Query:
\lResult:
                                 List of databases
   Name    |  Owner   | Encoding |  Collate   |   Ctype    |   Access privileges
-----------+----------+----------+------------+------------+-----------------------
 postgres  | postgres | UTF8     | en_US.utf8 | en_US.utf8 |
 template0 | postgres | UTF8     | en_US.utf8 | en_US.utf8 | =c/postgres          +
           |          |          |            |            | postgres=CTc/postgres
 template1 | postgres | UTF8     | en_US.utf8 | en_US.utf8 | =c/postgres          +
           |          |          |            |            | postgres=CTc/postgres
(3 rows)
To show the list of available schemas, run the statement as shown:
Query:
\dnResult:
  List of schemas
  Name   |  Owner
---------+----------
 openiot | postgres
 public  | postgres
(2 rows)
To show the list of available tables, run the statement as shown:
Query:
SELECT table_schema,table_name FROM information_schema.tables WHERE table_schema ='openiot' ORDER BY table_schema,table_name;Result:
 table_schema | table_name
--------------+------------
 openiot      | x002f
(1 row)
Read historical data by running the following query:
Query:
SELECT * FROM openiot.x002f;Result:
  recvtimets   |      recvtime       | fiwareservicepath | entityid  | entitytype |  attrname   | attrtype | attrvalue | attrmd
---------------+---------------------+-------------------+-----------+------------+-------------+----------+-----------+--------
 1643187286219 | 01/26/2022 08:54:46 |                   | device001 | device     | temperature | Number   | 6367      | []
 1643187287236 | 01/26/2022 08:54:47 |                   | device001 | device     | temperature | Number   | 27099     | []
 1643187288272 | 01/26/2022 08:54:48 |                   | device001 | device     | temperature | Number   | 19884     | []
 1643187289301 | 01/26/2022 08:54:49 |                   | device001 | device     | temperature | Number   | 24317     | []
 1643187290334 | 01/26/2022 08:54:50 |                   | device001 | device     | temperature | Number   | 18696     | []
 1643187291389 | 01/26/2022 08:54:51 |                   | device001 | device     | temperature | Number   | 27072     | []
 1643187292420 | 01/26/2022 08:54:52 |                   | device001 | device     | temperature | Number   | 16981     | []
 1643187293467 | 01/26/2022 08:54:53 |                   | device001 | device     | temperature | Number   | 25624     | []
 1643187294499 | 01/26/2022 08:54:54 |                   | device001 | device     | temperature | Number   | 6011      | []
 1643187295528 | 01/26/2022 08:54:55 |                   | device001 | device     | temperature | Number   | 17796     | []
(10 rows)
Examples
Look at examples here.